Managing files effectively is highly challenging for marketers because they handle daily reports, presentations, and client documents. With numerous tasks on their plate—client meetings, juggling campaigns, analyzing metrics, and nurturing leads—efficient and automated data handling and management is crucial.
Manually transferring each sales report or marketing presentation from your CRM to cloud storage consumes valuable time, is prone to errors, and can lead to misplaced files and losing track of important information.
This is where HubSpot integration with Google Drive offers a surefire way to streamline your workflow and keep your documents in order.
HubSpot & Google Drive integration has become a necessity for various businesses, requiring quick and seamless access to documents, presentations, and files related to customers.
This integration enhances the CRM’s ability to handle document storage, management, and collaboration by extending the power of Google Drive directly into your HubSpot account. It helps optimize business processes and ensures that files are always accessible, organized, and easily retrieved.
This blog will explain the importance of HubSpot CRM and Google Drive integration, its benefits, and how businesses can use this combined power to elevate their marketing, sales, and collaboration efforts.
Understanding HubSpot CRM
HubSpot CRM is a popular cloud-based platform designed to assist next-gen businesses in attracting visitors, converting leads, and closing deals. It provides a comprehensive suite of innovations tailored to boost marketing, sales, and customer service efforts.
Google Drive Overview
Google Drive is a well-known cloud-based storage solution that allows users to store, share, and collaborate on files from anywhere. It’s an effective tool for businesses looking to maintain a centralized repository of documents accessible to all team members.
Benefits Of Zapier Automation
Time Savings: Automation in Zapier lets you create processes that simplify business management, eliminating the need to handle repetitive tasks manually.
Streamlined Operations: Zapier empowers users to connect multiple apps, enabling automatic data transfer without manual input.
Growth Measurement: With over 1,000 applications on the platform, Zapier provides detailed insights into your performance, highlighting what works well and what areas need improvement.
Enhanced Reporting: Zapier’s automation also improves your business reporting by offering advanced tools that give you deeper insights into your operations
Benefits Of HubSpot & Google Drive Integration
Real-Time Synchronization: Automatically syncs files between Google Drive and HubSpot, ensuring access to the latest documents.
Seamless Collaboration: Enables multiple team members to collaborate on files within the HubSpot CRM, enhancing teamwork and communication.
Enhanced File Organization: Easily attach Google Docs, Sheets, and Slides to customer records for quick access and better organization.
Efficiency and Time-Saving: Eliminates manual file transfers, reducing the risk of lost files and freeing up time for sales efforts.
Contextual File Sharing: Attach specific files to relevant HubSpot records, ensuring information is accessible in context.
Increased Productivity: Centralizes document management within HubSpot and Google Drive, allowing teams to focus on strategic tasks instead of admin work.
Steps To Integrate Zapier With HubSpot
Step 1: Click on the Marketplace Icon ![]()
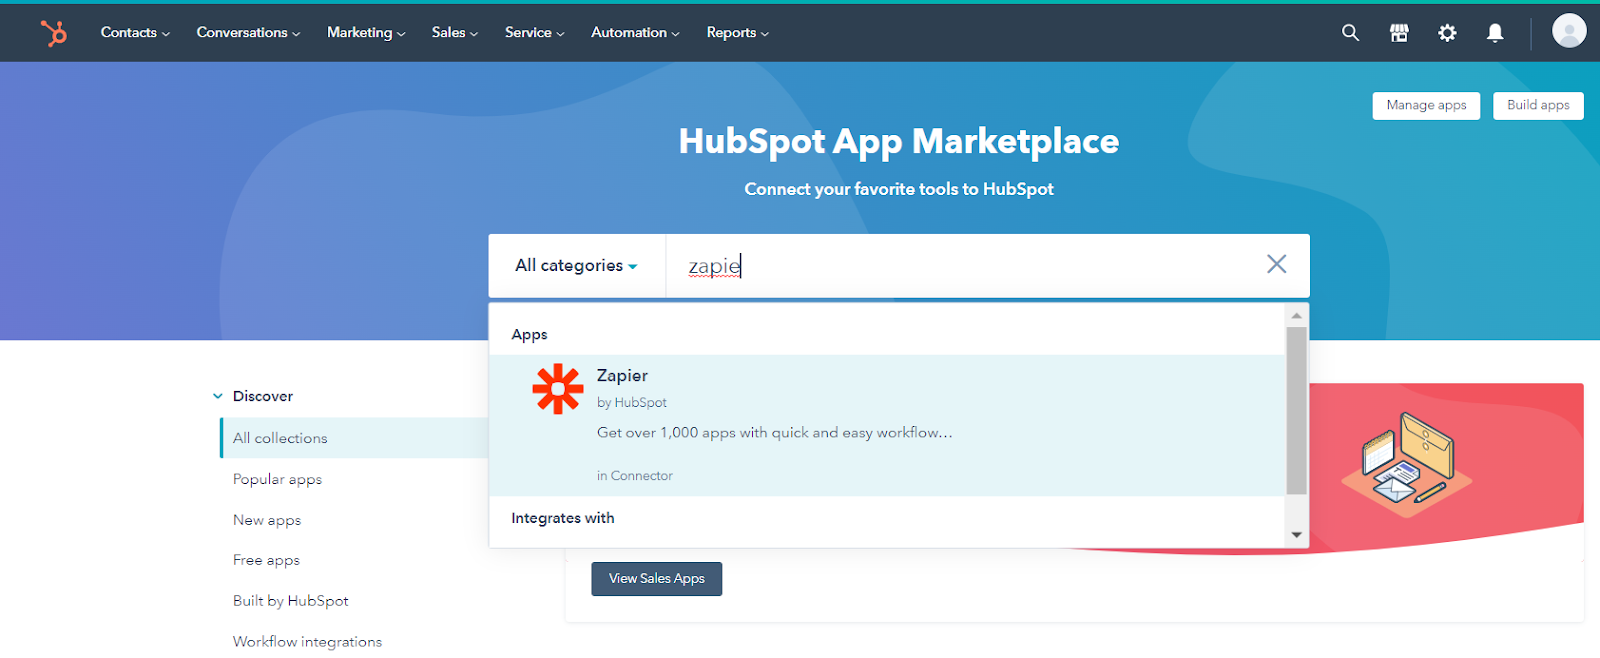
Step 2: Now click on the App Marketplace button.

Step 3: Look for and choose the Zapier integration using the search bar.
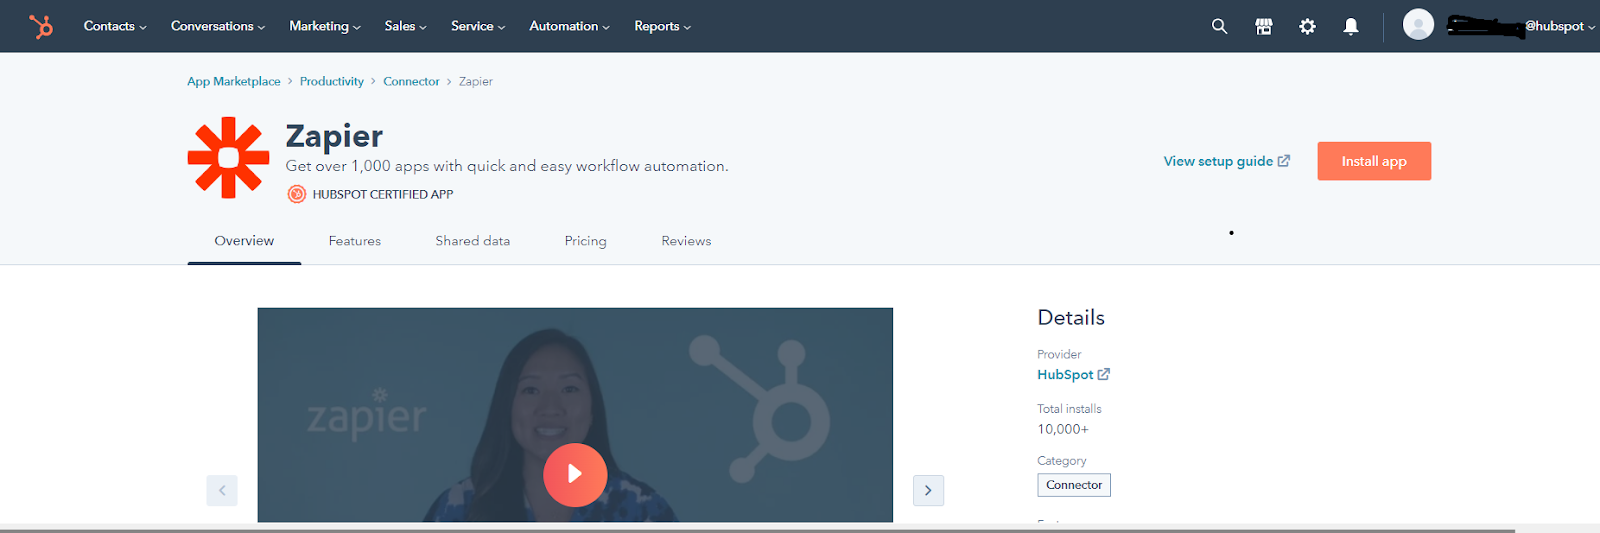
Step 4: Next, click the Install app button in the top right corner of the application information screen after it has arrived.
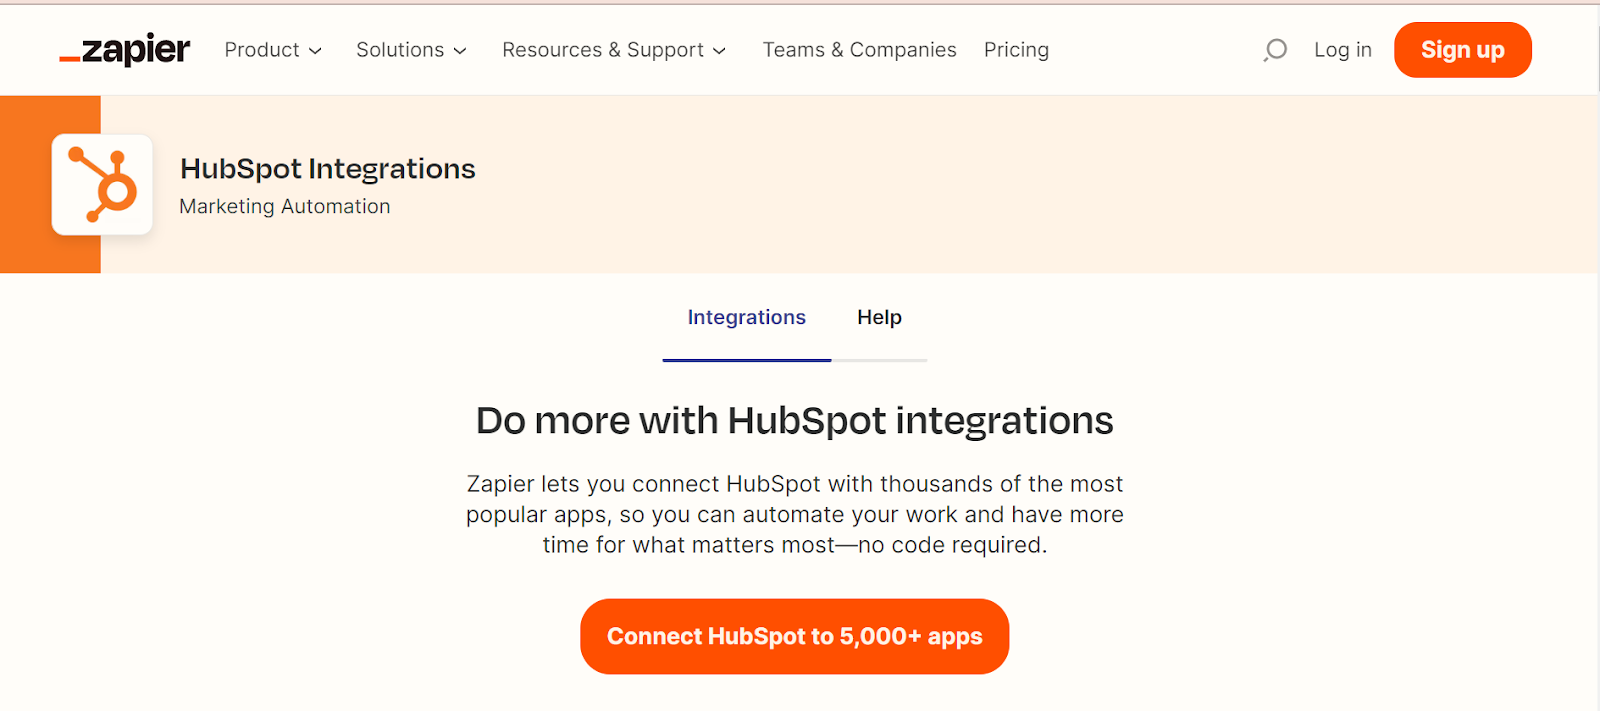
Step 5: The Zapier login page will now appear. Click Sign up to open a new Zapier account or Log in to access your existing Zapier account.
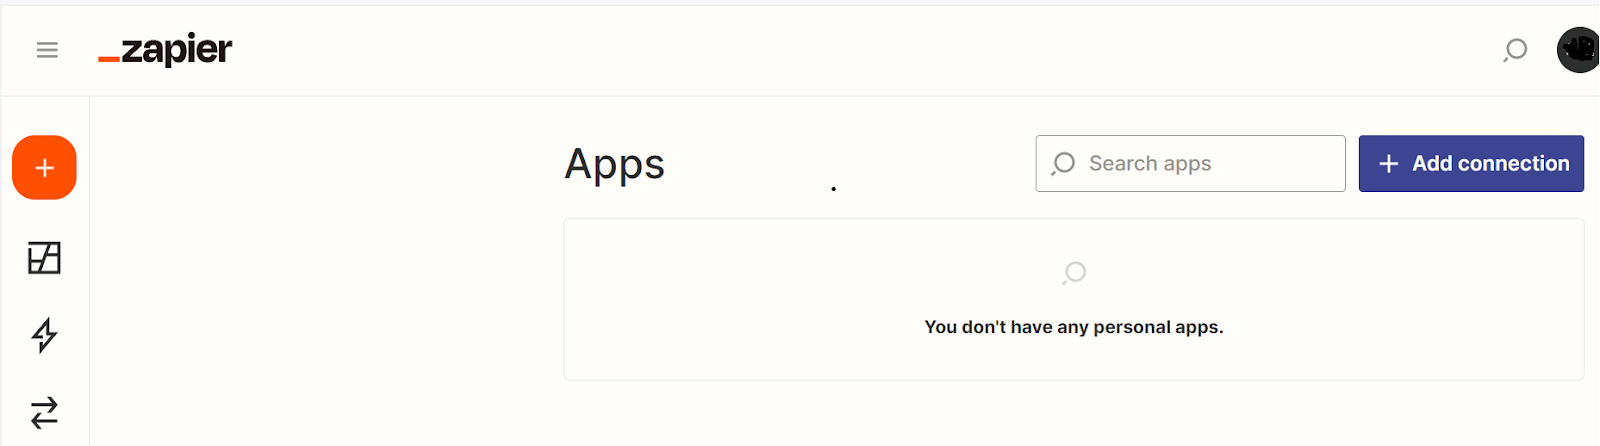
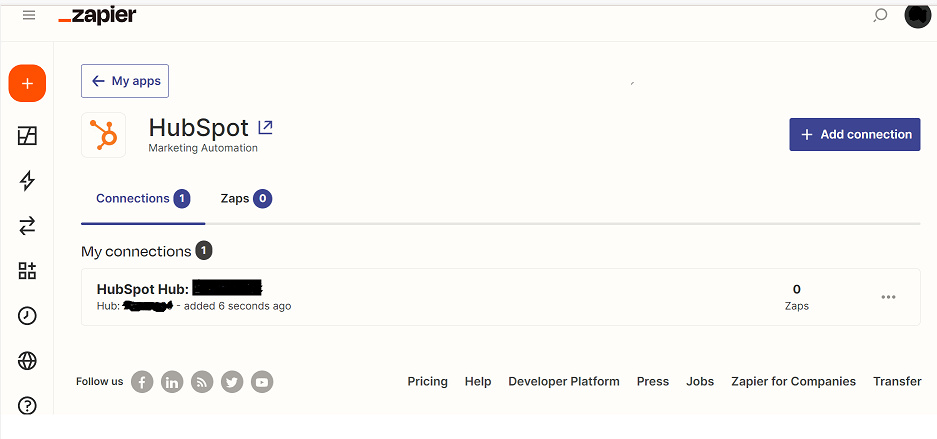
Step 6: After logging into your Zapier account, navigate to My Apps in the left corner.
Step 7: Now, click the Add Connection button in the top right corner.
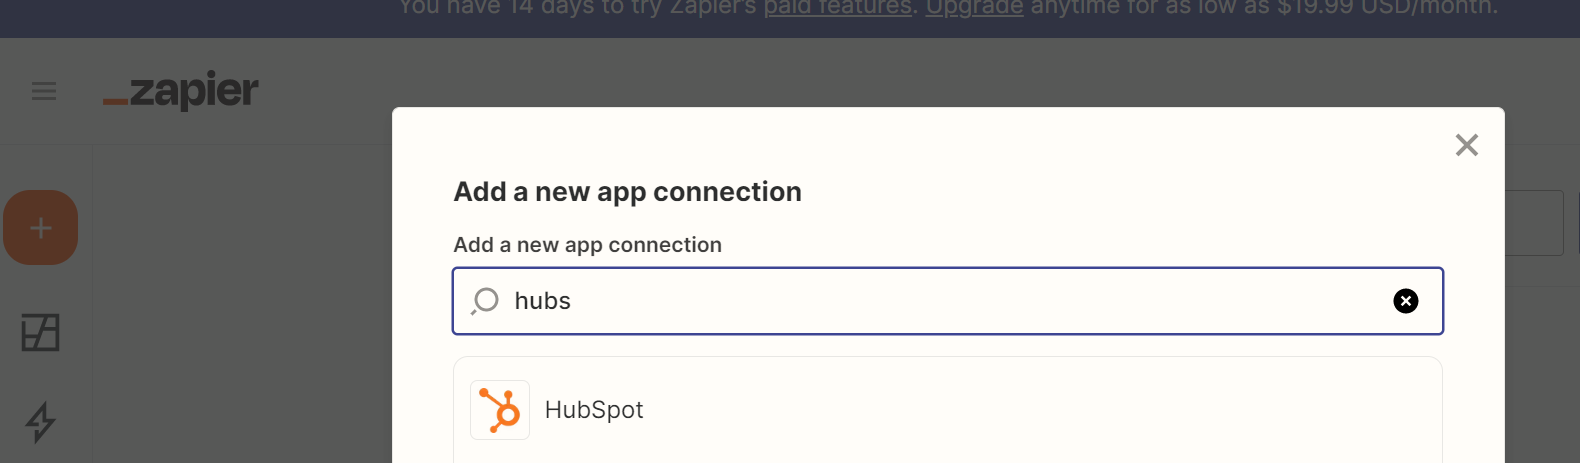
Step 8: A Search bar page will pop up on the screen. Locate and select HubSpot.
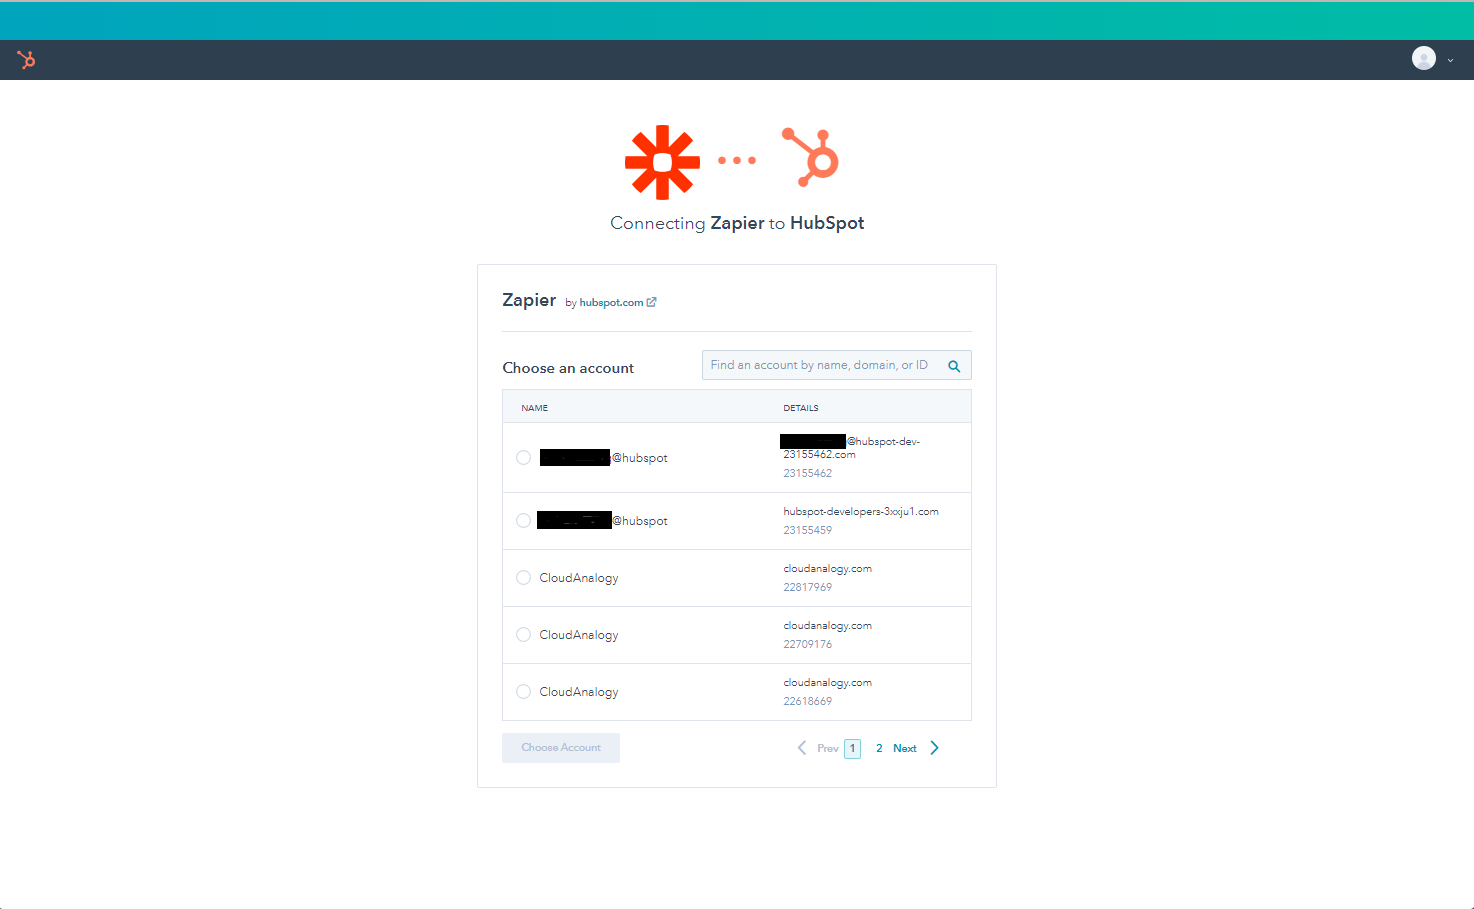
Step 9: The HubSpot OAuth page will appear, listing your HubSpot Account. Select your desired account, and then click the Choose Account button.
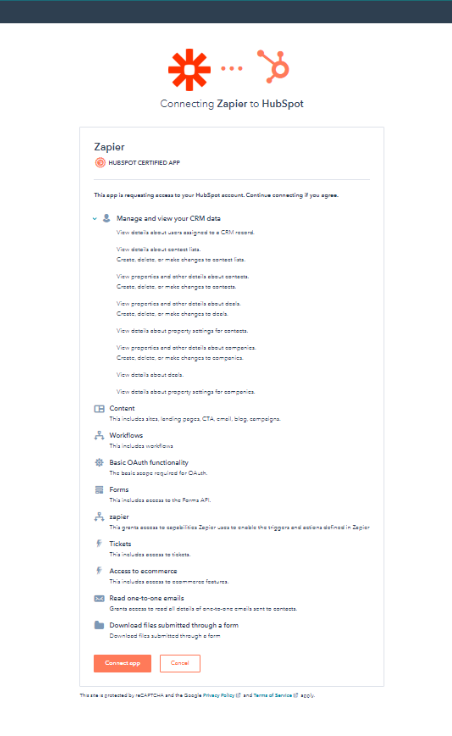
Step 10: After clicking the button, it will show the permissions page to be granted to the app for further.
Step 11: Now click on the Connect App button.
It will navigate to the Zapier My Apps, where HubSpot is connected.
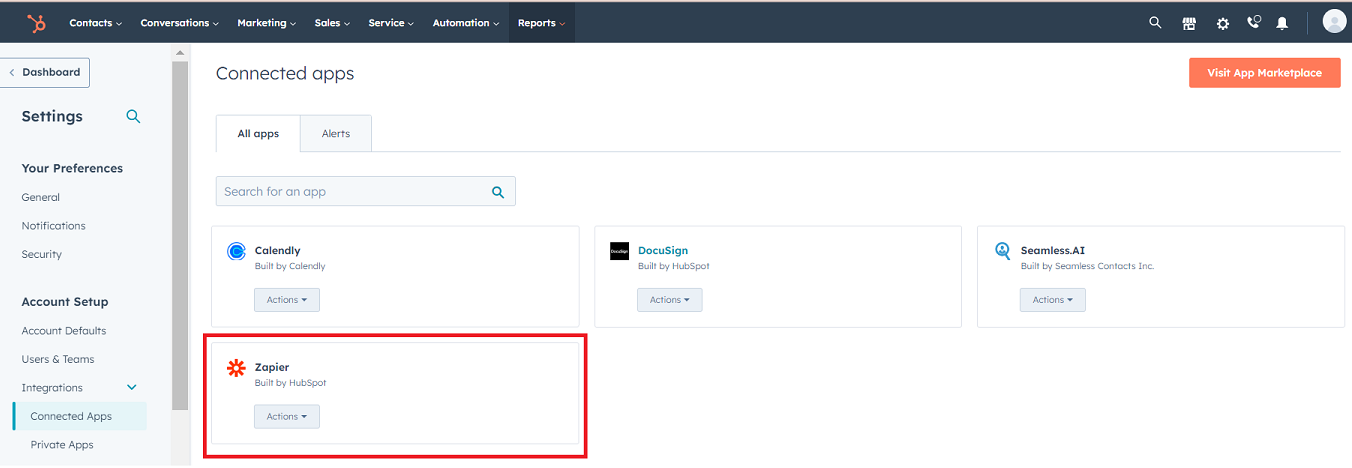
Note: The connection will also be reflected in HubSpot under Connected Apps.
Google Drive & HubSpot Integration Zap
We used Zapier to connect Google Drive with HubSpot and automate the upload of data from HubSpot to Drive. Whenever a contact is created in HubSpot, a dynamic folder and a document file in Google Drive will be created with the naming convention FullName_CompanyName.
Steps to be followed for Integration:
Step 1: Log in to your Zapier account.
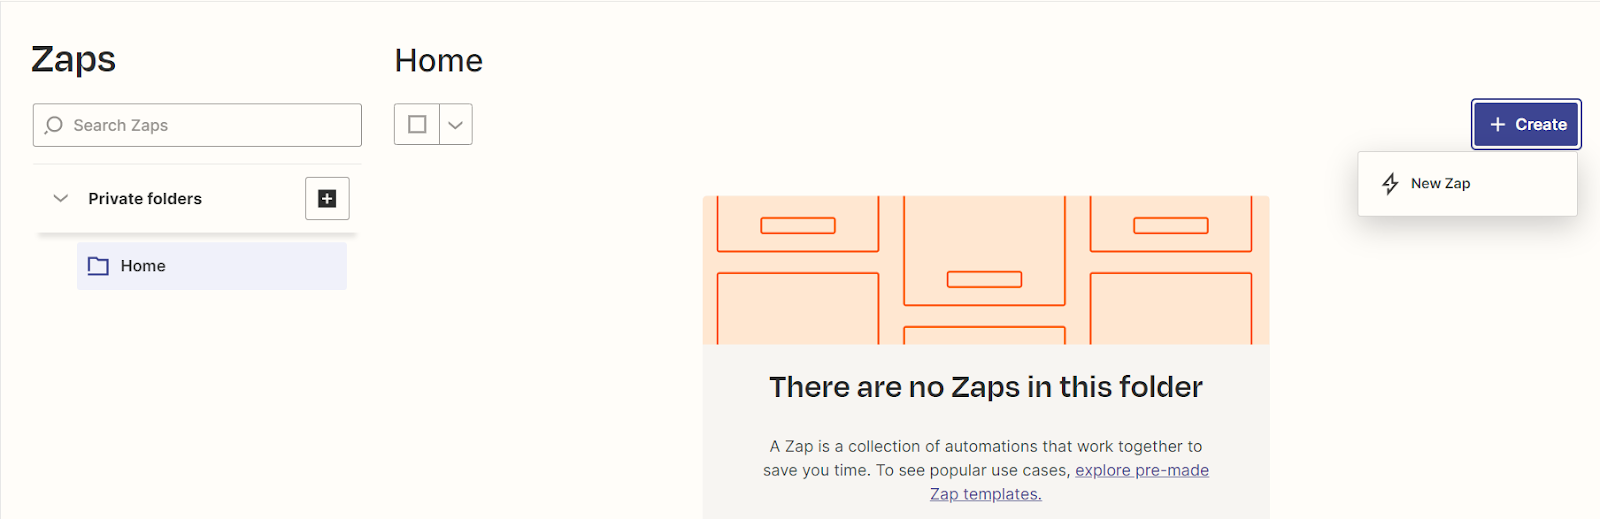
Step 2: After logging into your Zapier account, navigate to Zaps in the left corner.
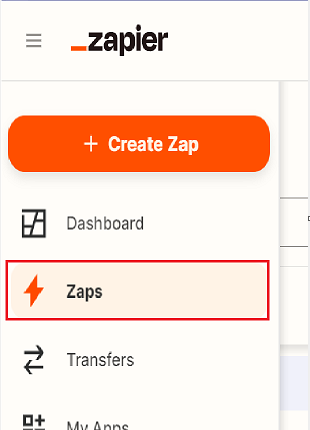
Step 3: Select New Zap under the + Create button to create a Zap.
Step 4: Now, Step 1 is Trigger. In this, we will provide the App we need to trigger or from which we need records.
Step 5: Locate and select HubSpot using the search bar.
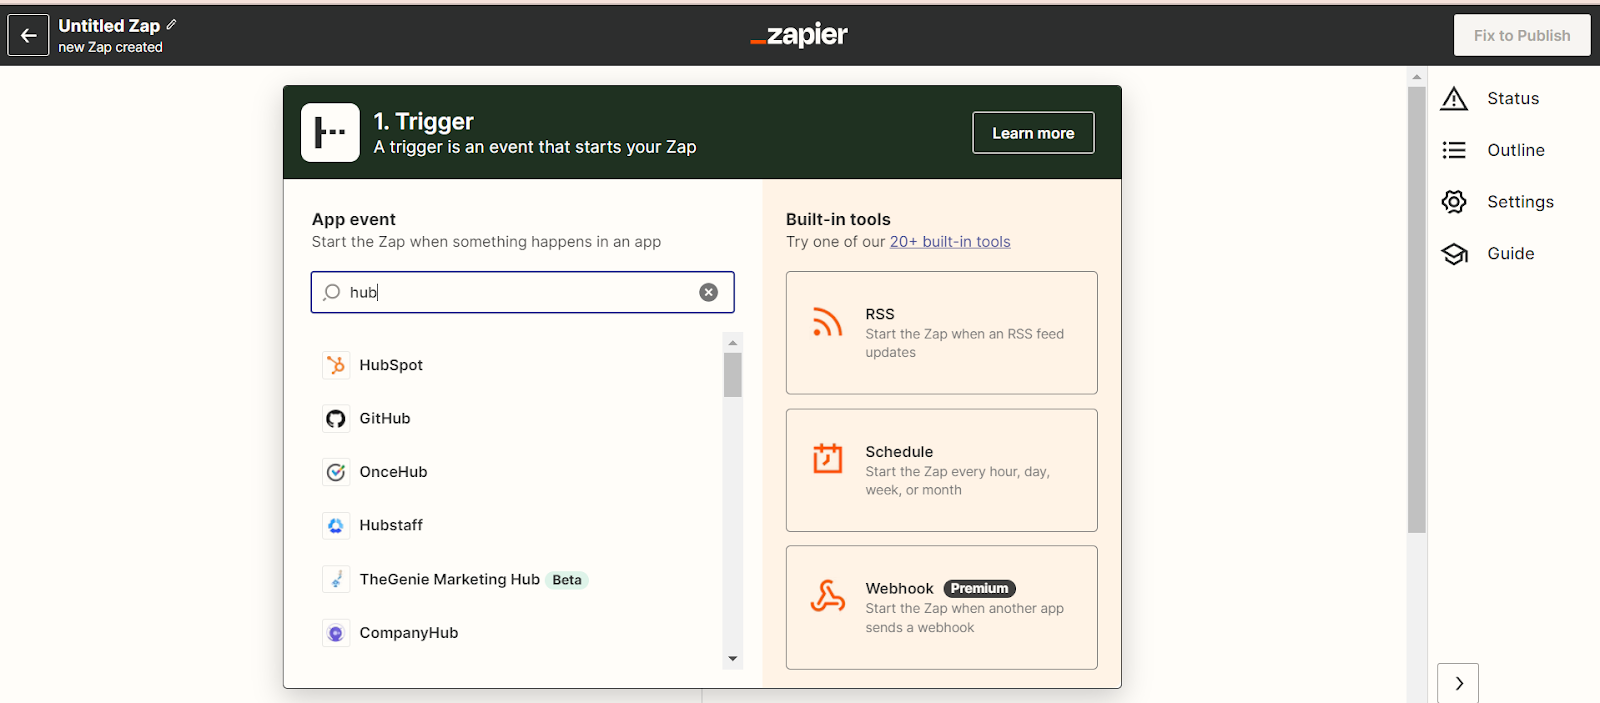
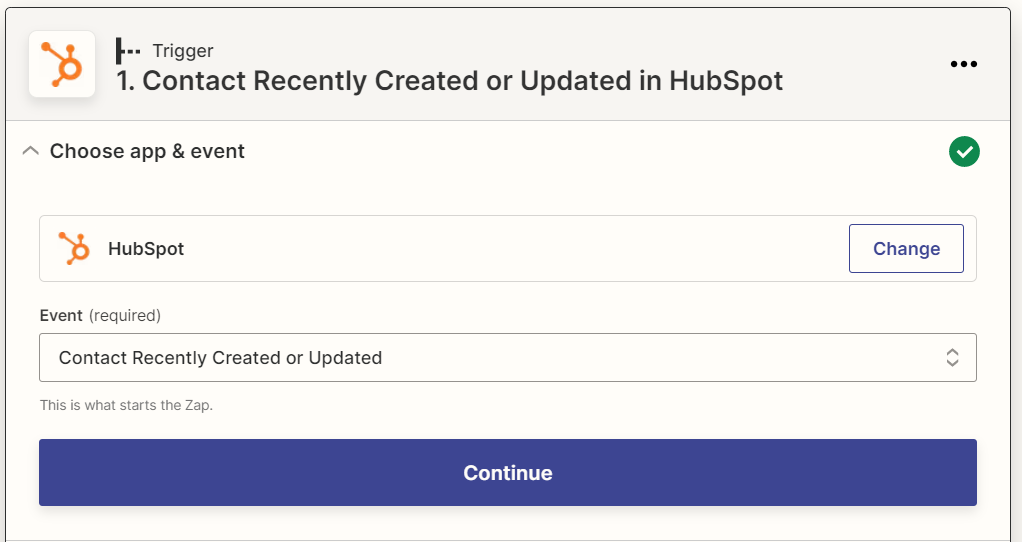
Step 6: Provide the event in that app under the Trigger step.
Step 7: Click on the Continue button.
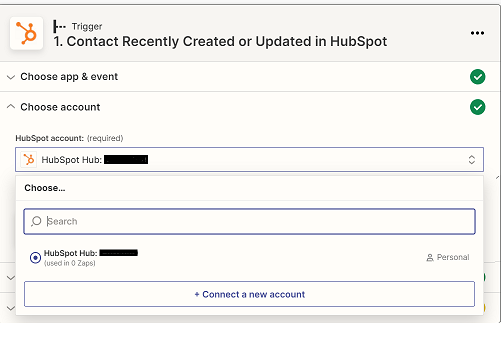
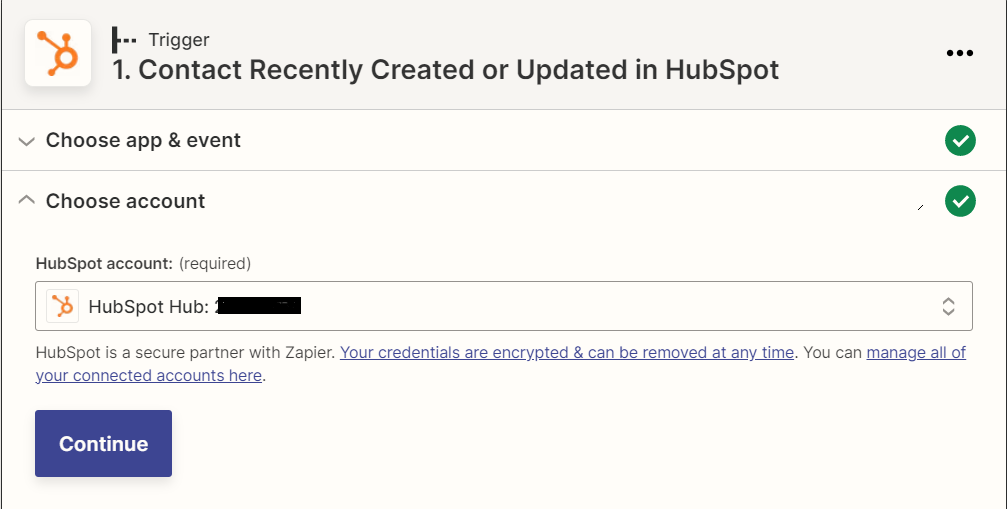
Step 8: Now, choose the connected HubSpot account.
Note: You can also connect another Hubspot account with this.
Step 1: Click on the Continue button.
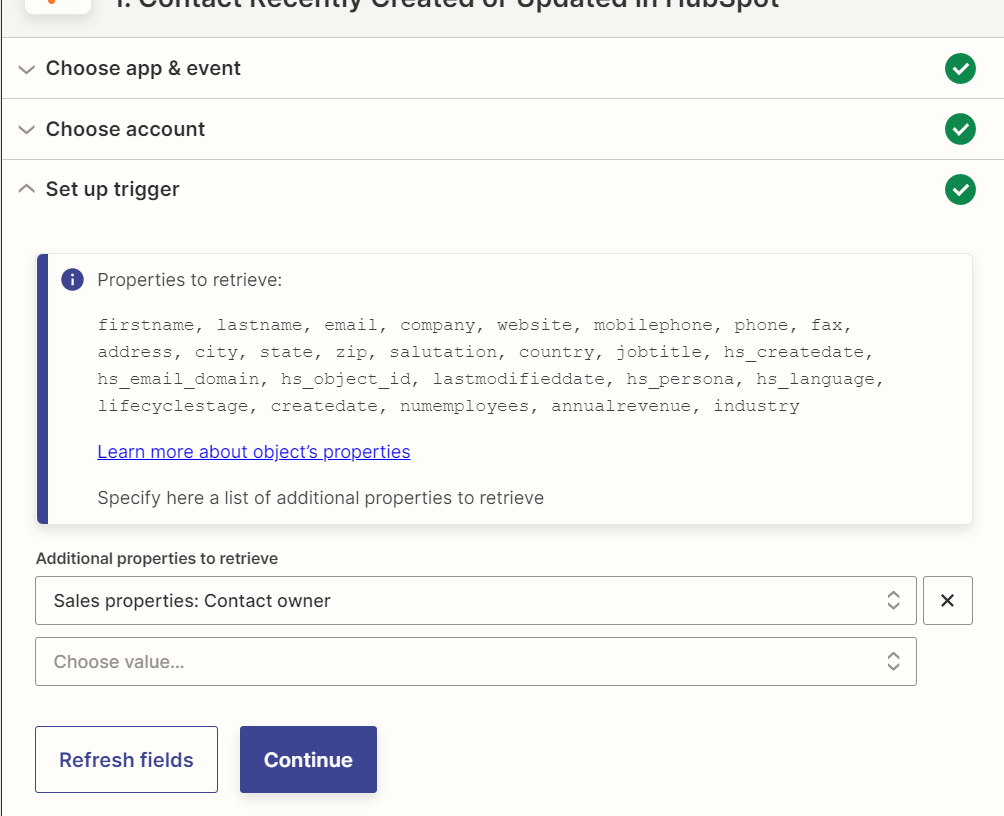
Step 2: Now, under the Set up trigger, we will find all the properties of the selected event. We can add our required properties, which are not included in these properties, under this.
Step 3: Click on the Continue button if your required properties are selected.
Step 4: Let’s test our given Trigger to see if we receive any triggering data.
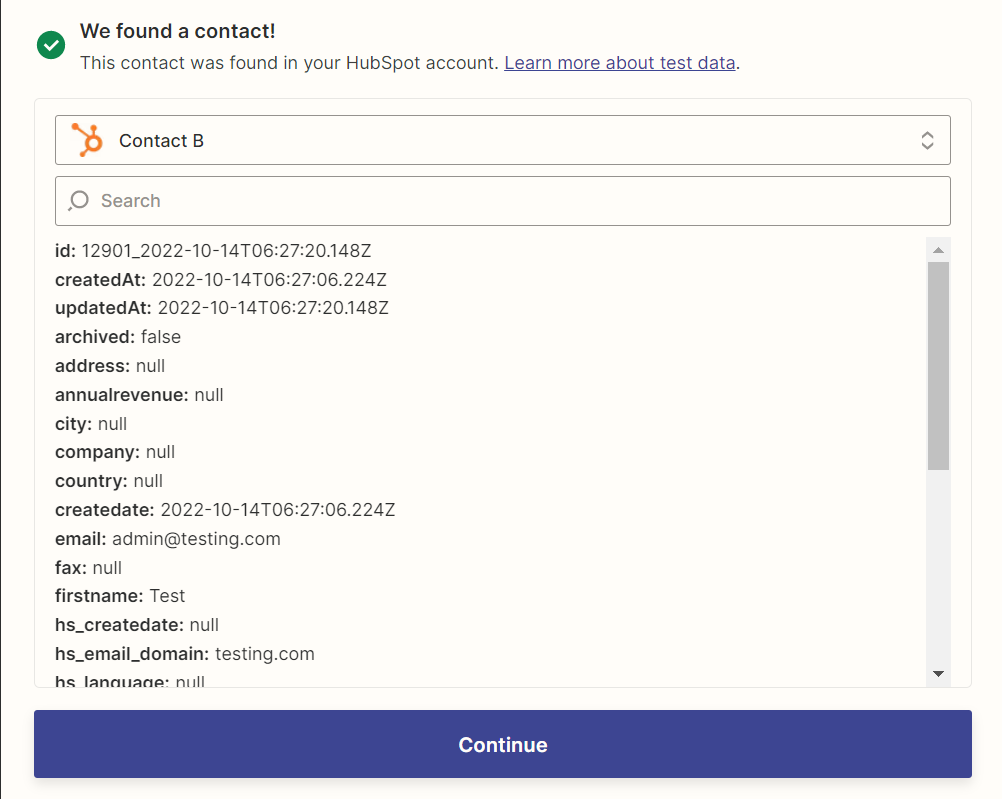
Step 5: If satisfied with the results, click the Continue button.
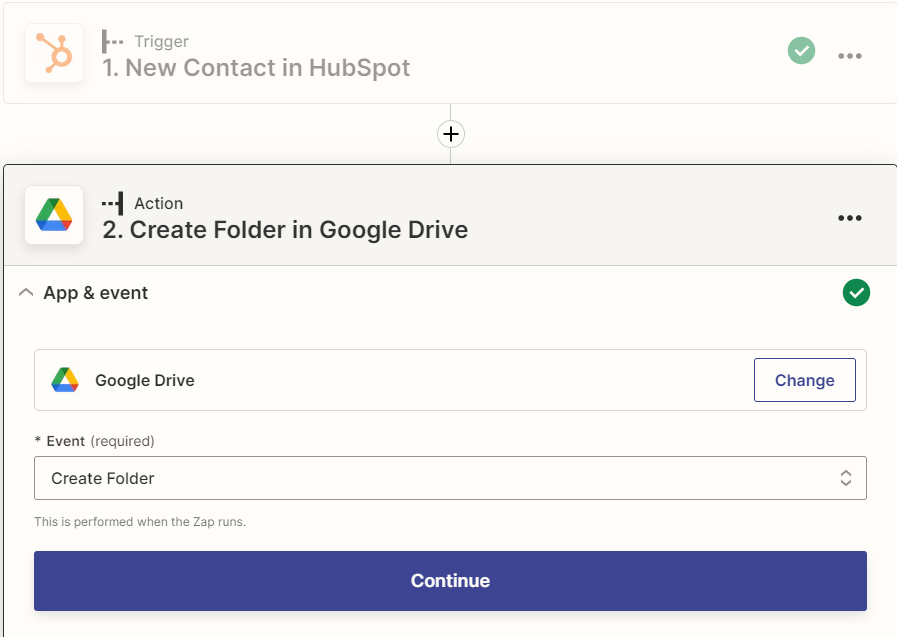
Step 6: Now, Step 2 is Action. Under this, we will act on the Trigger to get our required data effectively. Locate and select Google Drive using the search bar.
Step 7: Select the Create Folder option inside the Event field under App & Event. Then click on the Continue button.
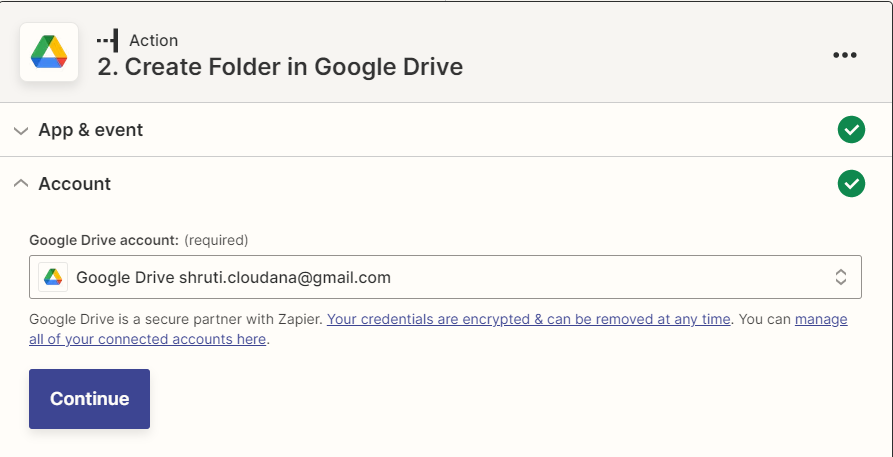
Step 8: Now, choose the Google Drive account to be connected and click the Continue button.
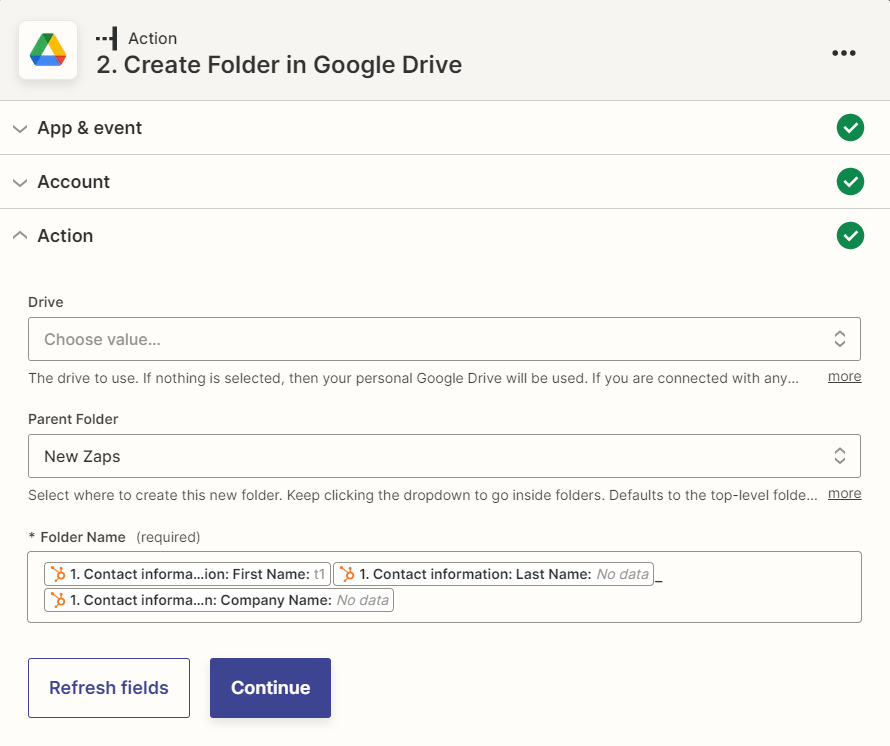
Step 9: Now, we will provide the Action to be implemented under the Action. To apply the Action, update the given fields.
Step 10: Under the Drive field, select the drive’s name, then select the Folder for the Parent Folder field, under which all these dynamic folders will be created. Now, provide the naming conventions for the Folder Name. The names can be static or dynamic.
Step 11: After completing these Action fields, click the Continue button.
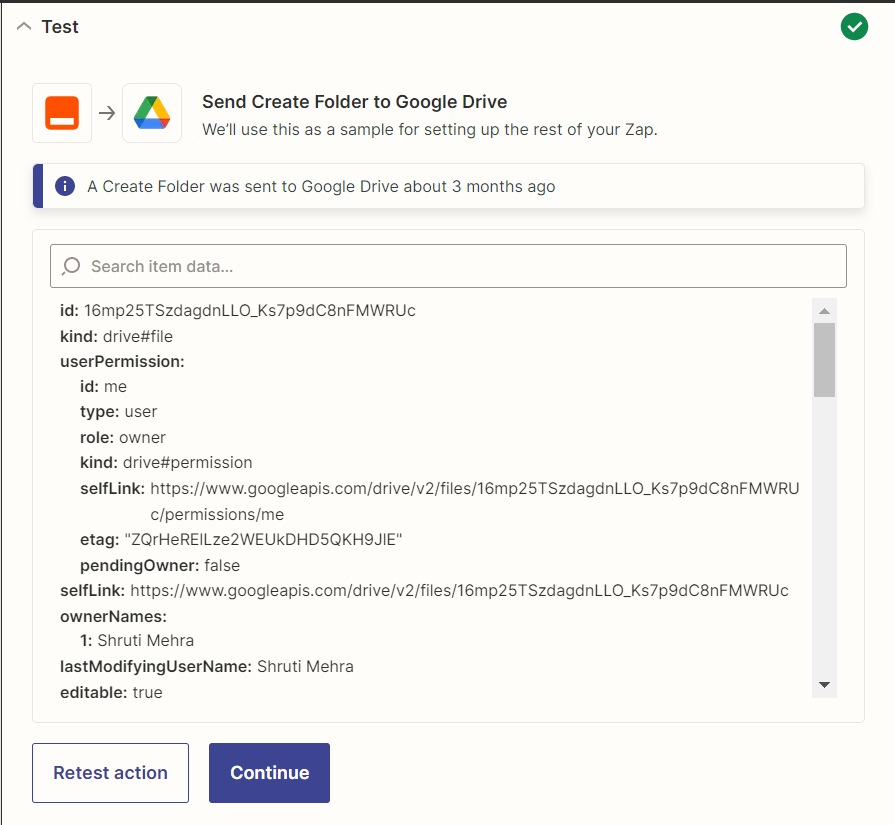
Step 12: Now, let’s test the given action. Are we receiving any results from performing these actions? If you are satisfied with the results, click the Continue button.
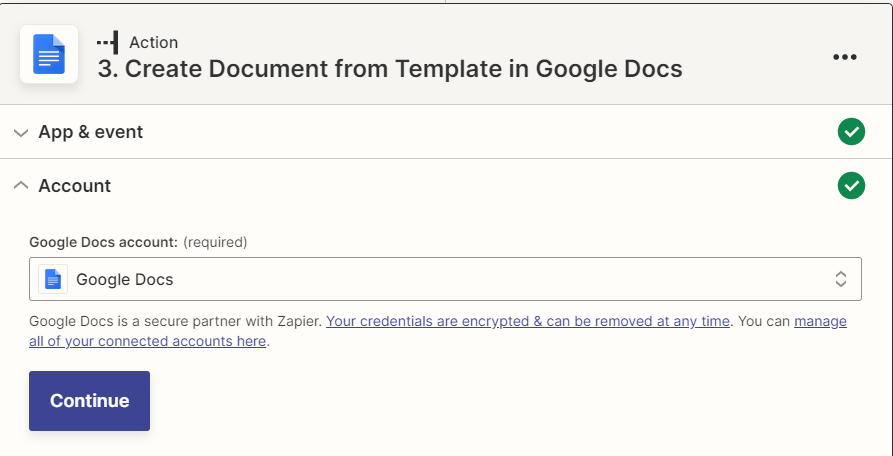
Now, Step 3 is again Action. Under this, we will perform another action on the trigger to efficiently get our required data. Locate and select Google Docs using the search bar.
Step 13: Select Create Document from the Template option inside the Event field under App & Event. Next, click on the Continue button.

Step 14: Now, choose the Google Docs account to be connected and click the Continue button.
Step 16: Now, under Action, we will provide the action to be implemented in the selected App. To apply the Action, update the given fields.
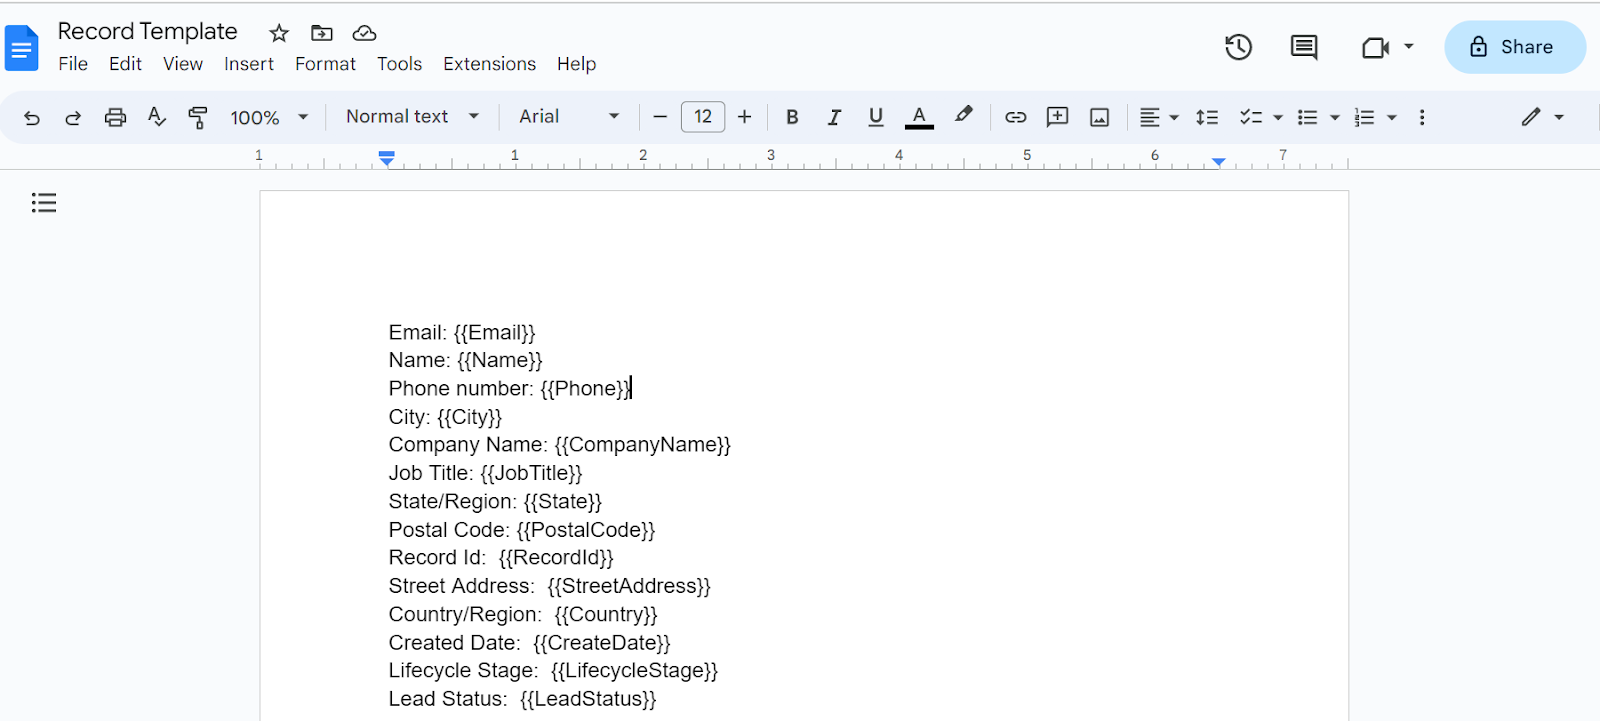
Step 17: Select the document template based on which you want to arrange the data format.
Step 18: Now, provide the naming conventions for the New Document Name. The names can be static or dynamic. We will give the folder to store this file. To do so, click on the folder for the New Document field, then click on the Custom tab, and under this, select the Folder ID from Step 2.
Step 19: The Sharing Preference and Unused Fields Preference fields can be left blank.
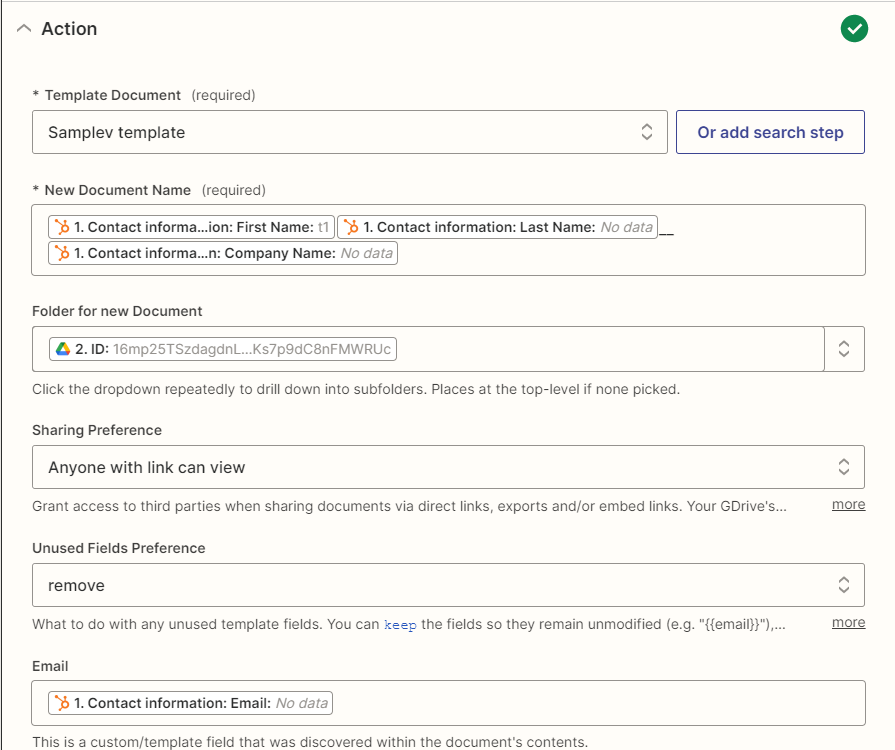
Step 20: Now, we will map the mentioned fields in the Template with the HubSpot fields. To do this, select the field to be mapped, click on the Custom tab, and from Step 1, select the required property. After mapping all the fields, click on the Continue button.
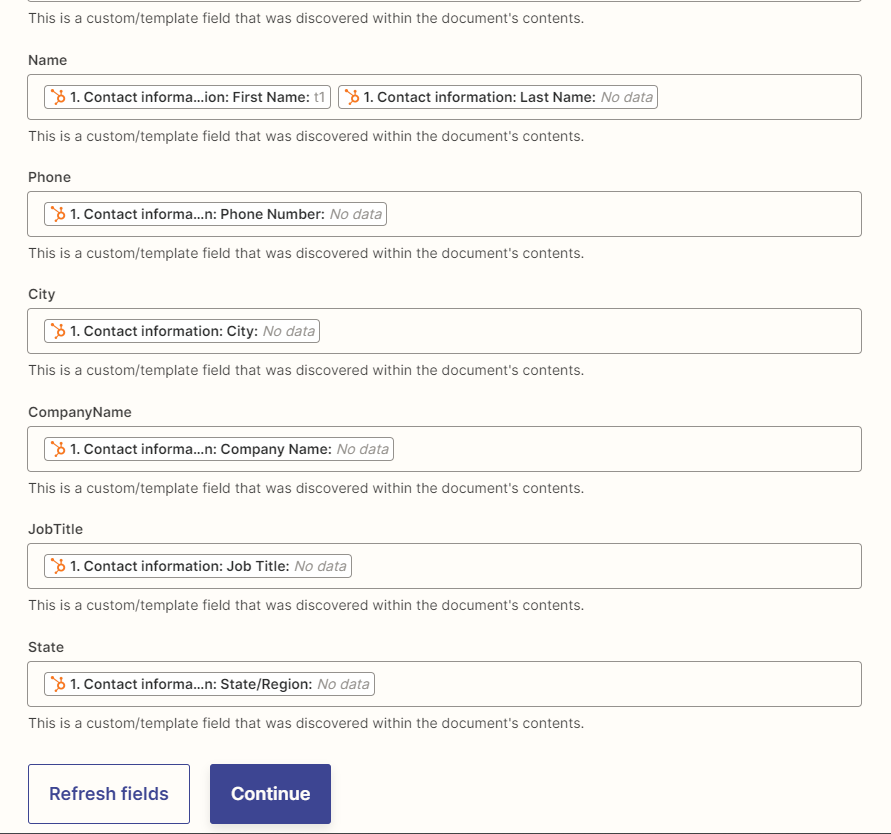
Step 21: Now, let’s test the given Action. Are we receiving the desired results from performing this Action?
Step 22: If satisfied with the Zap results, click the Publish & Turn On button.

Final Wrap
In today’s fast-paced business environment, manual tasks such as file management can slow progress and reduce productivity. Integrating HubSpot CRM & Google Drive offers a powerful solution to streamline document management and collaboration across teams.
With real-time synchronization, automated workflows, and enhanced collaboration, businesses can stay organized, save time, and provide a better experience for their clients.
Ready to Transform Your File Management? If you’re looking to integrate HubSpot CRM with Google Drive and unlock a new efficiency level, Cloud Analogy, a leading CRM services provider, is here to assist you every step. Our CRM consulting Services are designed to optimize your business processes, redefine your customer relationships, and give you more time to focus on what matters most—growing your business. Contact us today to learn how we can tailor the perfect CRM services for your business.