Sharing is caring!
It has become a norm for most companies to modernize and move into the cloud.
While businesses primarily use Salesforce’s cloud-based CRM (Customer Relationship Management) to manage their client records and engagement, Salesforce now offers numerous services like Sales Cloud, Marketing Cloud, Mobile Connectivity, etc.
These services allow businesses to leverage Cloud Technology to connect with clients, customers, and partners, in an enhanced way. It gives them immense flexibility, limitless scale, and a completely connected workforce.
Various top-notch integration companies such as Cloud Analogy – a Salesforce Gold Consulting Partner, can become your successful Salesforce integration partners providing you the best Salesforce integration services.
This blog will provide insights on why Box to Salesforce Integration and how to set up a Box and Salesforce integration to automate document storage in a completely secure manner.
Why Box To Salesforce Integration?
Salesforce enhances collaboration between teams by ensuring secure and centralized control. Companies are exploring how they can use Salesforce for this purpose.
In cybersecurity risks and threats, it is a priority to guard information. All associations are moving their most important business to the cloud, so data security and centralization are essential. You can manage content, collaborate with others, and share files with Box, a cloud-based Content Management company.
Using Salesforce to manage your Marketing related activities and client Information is helpful, but businesses look for dependable and accessible storehouses of important documents. Businesses want to work with Box Salesforce integration for advanced collaboration possibilities.
Now, we will cover setting up a Box and Salesforce Integration.
Set Up A Box And Salesforce Integration
Step To Follow
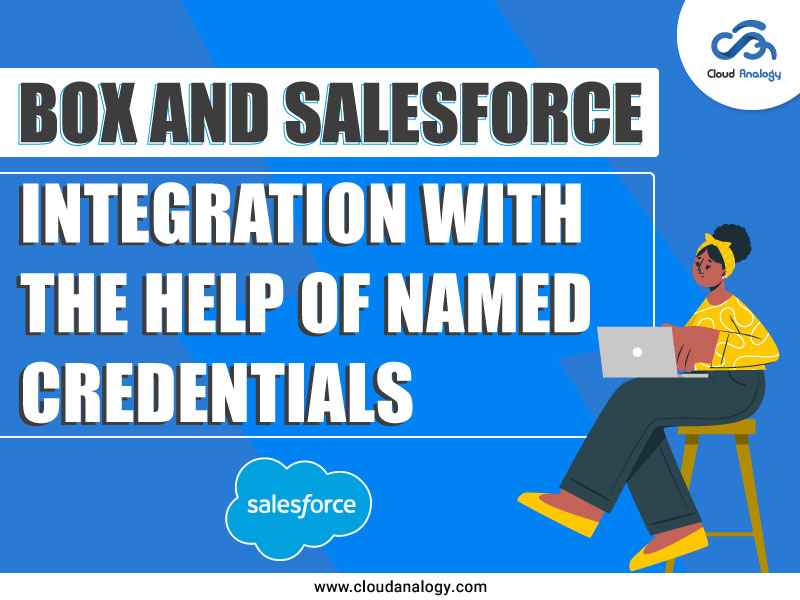
1. Open the App Console (https://app.box.com/developers/console) and click the “Create New App” button.
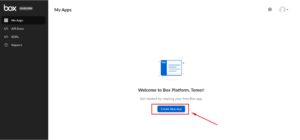
2. Choose a type of App as “Custom App.”
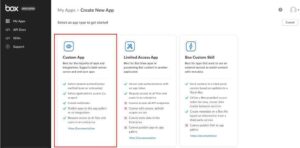
3. Select auth method as “OAuth 2.0” and enter the app name
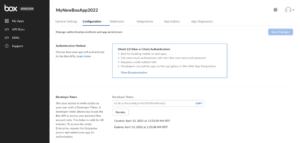
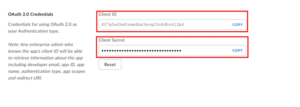
4. Here is an app configuration page. Scroll down to see the OAuth 2.0 credentials
5. Copy credentials
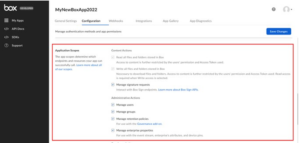
6. Select all application scopes
7. Click the Save Changes button, Go back to Salesforce
Actions in Salesforce
1. On the right corner, click the Setup
2. Click on “Setup” Setup will open in a new window
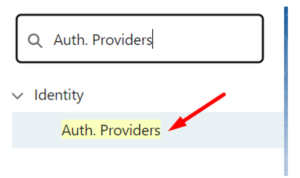
3. Find the Quick Find box in the left corner. Write “Auth. To search, enter “Providers” and hit “Enter”. Then click on “Auth. Providers” in the dropdown list
4. Then click on the “New” button
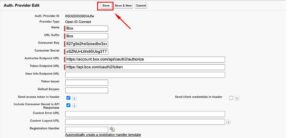
5. Choose “Open ID Connect” as the provider type. Enter name – “Box”, consumer key and consumer secret
6. Enter endpoints URL:
a. Authorize endpoint URL:
https://account.box.com/api/oauth2/authorize
b. Token endpoint URL:
https://api.box.com/oauth2/token
7. Press Save Button
8. After saving, scroll down to the next page, find “Callback URL”, and copy it. Go back to the Box console

Action in Box
1. Paste your callback URL into the Redirect URLs input. Press Add a URL.
2. Press Save Changes. Go back to Salesforce
Action in Salesforce
1. In your newly created auth. provider to test your connection, go Test-Only Initialization URL and OAuth-Only Initialization URL
Configure Named Credentials
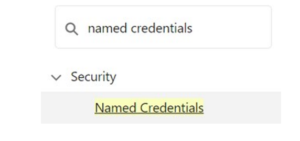
- In the Setup, find the Quick Find box in the left corner. Write “Named Credentials” in it and press “Enter” to search. In the dropdown list, click “Named Credentials”.
Click on Named Credentials
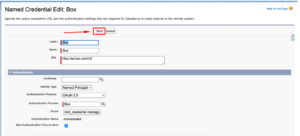
2. Complete the form by filling out the following fields:
- Label – Box
a. Identity Type – Named Principal
b. Authentication protocol – OAuth 2.0
c. Authentication provider – Box (that provider, which you created in paragraph “Configure Auth. Providers”)
d. Scope – root_readwrite manage_managed_users manage_app_users manage_groups manage_webhook
e. Make sure that the Checkbox “Start Authentication Flow on Save” is Checked.
Press the “Save” button.
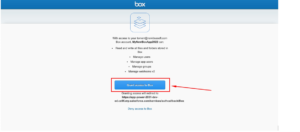
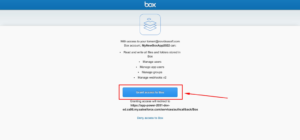
3. Then, you will see the Box authorization window. Grant access to Box by clicking the Grant access to Box button.
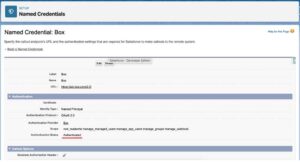
4. You will see the “Named Credentials” page in Salesforce again. But now you have an “Authenticated” status.
5. Create one more Named Credential. Click New Named Credential
6. .Fill in the fields in the form:
1. Label – Box Upload
2. Name – Box_Upload
3. URL – https://upload.box.com/api/2.0
4. Identity Type – Named Principal
5. Authentication protocol – OAuth 2.0
6. Authentication provider – Box (that provider, which you created in paragraph “Configure Auth. Providers”)
7. Scope – root_readwrite manage_managed_users manage_app_users manage_groups manage_webhook
8. Make sure that the checkbox “Start Authentication Flow on Save” is checked. Press the “Save” button.
7. Then, you will see the Box authorization window. Grant access to Box by clicking the Grant access to Box button.
8. Then, you will see the “Named Credentials” page in Salesforce again. But now you have an “Authenticated” status.
Congratulations! you had just set up the Salesforce to Box integration.
Conclusion
Your teams can quickly draft documents, shoot them for signatures, and track them throughout the process (all from within Salesforce) with Box Sign’s Salesforce integration.
With a secure content layer and in-built e-signatures, you close deals briskly and onboard new customers and partners virtually. You can send unlimited documents for signature from Salesforce for a limited time with the Enterprise Plus plan.
With centralized information on Box, you fasten up deals and strikingly improve customer engagement, connecting content and people to work quickly and efficiently.
Do you require assistance with Salesforce implementation services, customization, development, data migration, and integration with third-party tools such as Outlook, MailChimp, Trello, Slack, Adobe Sign, and more?
Contact Cloud Analogy – the globally recognized Salesforce integration company, to discover how certified CRM experts can help you with successful integration and improve your business’s bottom line to enhance its productivity and reach great heights.
Follow us on our Social Media platforms, YouTube, LinkedIn, Instagram, Facebook and Twitter, to stay updated with the latest technology and trends.
Thank you for reading!

Akshay Dhiman
Chief Technical Officer
Akshay Dhiman, the CTO of Cloud Analogy, has been a standout and successful Salesforce Platform Developer for years. He has a rich experience in Salesforce Integration, JavaScript, APEX, VisualForce, Force.com Sites, Batch Processing, Lightning, PHP, C++, Java, NodeJs, ReactJs, Angular 8, GraphQL, React Native, Web Technology, and jQuery.Hire the best Salesforce Development Company. Choose certified Salesforce Developers from Cloud Analogy now.
