Do you want to run a customer-centric business that makes profits on a consistent basis? Do you struggle to find out how to deliver your clients the best customer experience and treat them in better ways? If your answers are in the affirmative, SurveyMonkey could be the one-stop solution for you.
What Is SurveyMonkey?
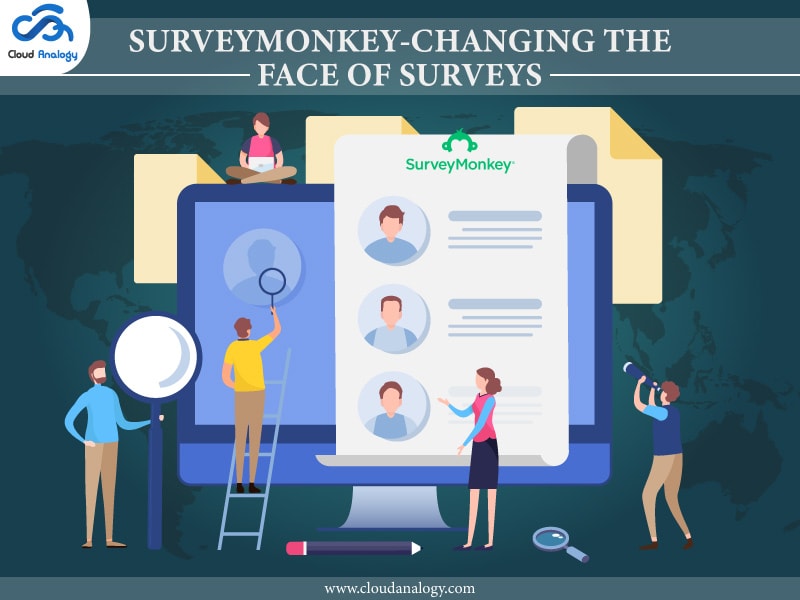
SurveyMonkey is an online survey software that allows you to create and run professional online surveys. It is a very powerful and well-known online application used to collect feedback, opinions, criticism, and suggestions from the general public and customers.
SurveyMonkey surveys can be useful to collect customer feedback to make data-driven decisions. By utilizing SurveyMonkey surveys, you can gather real-time customer feedback to gain a 360-degree view of customers to understand what your customers are looking for.
SurveyMonkey provides all the necessary tools to create strong, professional surveys easily. They can then be sent to users in various ways– e-mail, weblink, Facebook, embed link on the web page, link via Twitter, website pop-ups, and more.
Features of SurveyMonkey
Design and implementation:
- You can drag and drop the questions for creating a survey.
- You can apply beautiful and responsive themes to the survey forms.
- You can add logic to the survey forms.
- You can add a payment page to accept payments.
- You can preview the survey before sending it to the customers.
- After the survey form is ready, you can send your survey form through collectors.
- Customers can download and scan the QR Code to conduct surveys on their smartphones.
- You can set the end date for the customer for completing surveys.
- You can Integrate with third-party tools and save the responses.
Collector Types: Web Link, Email Invitation, Social Media, Facebook Messenger, Target Audience, Website, Manual Data Entry, Mobile SDK, Field Survey, and Text Message.
Analyze Results:
- You can view and analyze the survey results at any time during the collection process.
- You can see individual responses.
- You can apply different filters to break down survey results.
- You can export survey results data to view offline.
- You can view benchmarks in survey results to compare your survey results with others.
Steps to Create a SurveyMonkey Account
To create the account, you would need to follow the below steps:
Step 1: First, open the link https://www.surveymonkey.com.
Step 2: Click on the Sign-Up button.

Step 3: To create the account, fill all the details on the below page. And then click on the “Create Account” button.

After creating the account, the following screen will appear.

Select the kind of company you work for and then click on the Next button.

After clicking on the Next button, you will see the below screen. On this, you can select the option according to your choice.

After selecting the option, the below screen will appear. Select “Build it for me option”.

You can either provide all the answers for the asked questions or you can skip all the questions by clicking on the cross button on the top of the screen then you will be redirected to the below screen.

Steps to Create a Survey with SurveyMonkey
Step 1: Click on the “Start from scratch” button.

Step 2: Fill the details on the below page.

After clicking on this button, you are ready to create a survey.

- You can add your questions to the survey. You can also define the type of Question/Answers as shown in the below figure.
NOTE: You cannot create more than 10 questions.

After creating the first question, click on the “Next question” button to create another one.


After creating 4-5 questions, click on the “Done” button.

After clicking on the done button, click on the Save button.

Then, click on the Next button.
By clicking on the “Next” button you will be redirected to the “Preview & Score” tab as shown in the below image.

Now click on the “Done” button that is at the bottom of this image and it will redirect you to the new page as shown in the below images.


Click on the “Collect Responses” button as shown on the above image and it will redirect to the below image. And on the below image select the first option which is “Send Surveys your way”.

Now select, from which way you want to collect your responses either by “Send by email“, “Get weblink”, etc.
As per your choice, select the way to collect the responses. Let us select the “Send by Email” option.
By clicking on this option you will be redirected to the below screen and on this screen enter the information for sending your created survey.

After filling all the details, click on the “Next” button.

Now you will be redirected to the next screen.

Click on the “Verify” button of this page then after clicking on this button you will receive an email.

You have to click on the Verify button and it will redirect you to the below page.

Click on the Next button and you will redirect to the below screen.

By clicking the “Send now” button your survey will send to the given email address.

Now click on this “Begin Survey” button it will redirect you to the Next screen or next page.

After giving the survey, click on the “done” button and you will be redirected to the below image.

Now you can see the responses by clicking on the “ANALYZE RESULTS” tab. On this tab, you can see the survey of each person who responds.
Example:


.
Steps to Integrate SurveyMonkey with Salesforce
Connecting for integration: We need to connect the survey monkey with Salesforce to create the records of the responses provided by users. To create the records of responses, we need to integrate SurveyMonkey with Salesforce.
How to Get the Access Token?
For this, first of all, you have to create the App.
Note: By creating this app, you can get important information like Client ID, Consumer ID, etc. that is very important for any integration.
Go through this link:
Click on the “Create New App” button.

Now give the Name for the App and select the App type.

Now under the Overview section, you will get the Client ID and Secret.

Now Go to Settings -> Update Scopes ->Deploy the App

Click on the Deploy button.

Now you have the Access Token under the Credentials section in the Settings tab.

Authorize Our Script With the Access Token
Now you need to pass the access token while accessing SurveyMonkey through your script. For this, you need to pass header information for each request in the following format:
headers’:(‘Authorization’, ‘Bearer ‘ + accessToken);
To find all the surveys from SurveyMonkey Account, Save this Access token in the Custom setting and use this in the apex code so that it will fetch the data in JSON format from the SurveyMonkey.
Now by using this code, you can get all the survey data in our Salesforce Org.
For Example,

If you want access to Collector, Collector response, Survey data, etc then go through this link: https://api.surveymonkey.net/v3/docs
Conclusion
In a nutshell, SurveyMonkey Surveys are great ways to get real-life answers, understand your target audience, boost customer satisfaction, and explore new markets and opportunities like never before.
By integrating Salesforce with SurveyMonkey, you can send surveys to your customers before, during, and after a purchase. It provides the flexibility to map responses to any object, including specific Salesforce objects, to deliver the best and personalized customer experience.
Based on Salesforce data, you can create automatic triggers to send surveys to customers. After receiving your answers, you can create a report and dashboard that contains feedback from the survey. SurveyMonkey integration with Salesforce makes it easier to synchronize your Salesforce data with customer feedback.
Looking for expert guidance on how to leverage the Salesforce CRM platform to make customer feedback trackable and live? Contact Cloud Analogy, the best Salesforce Consulting Company now!